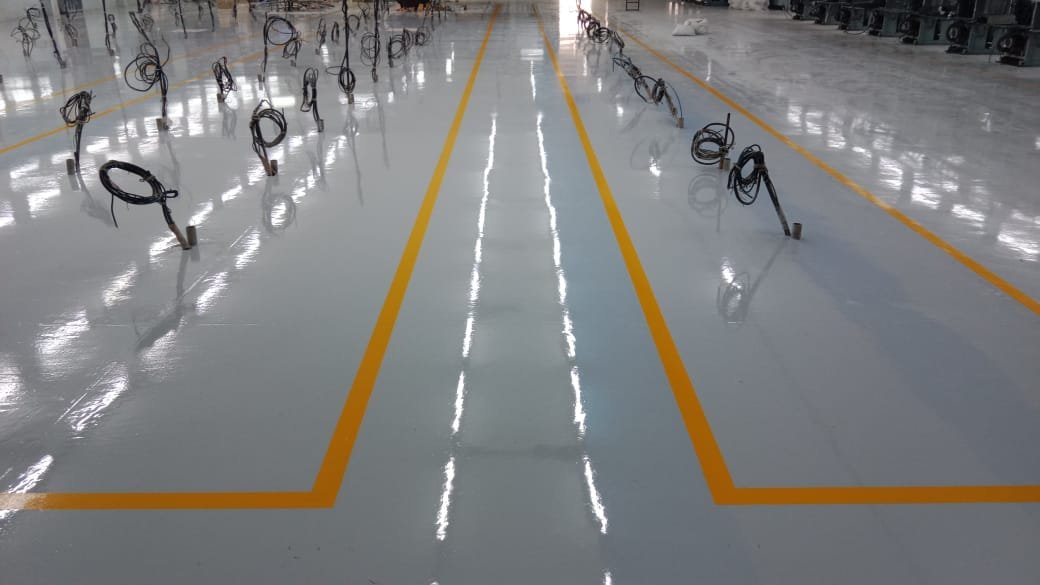
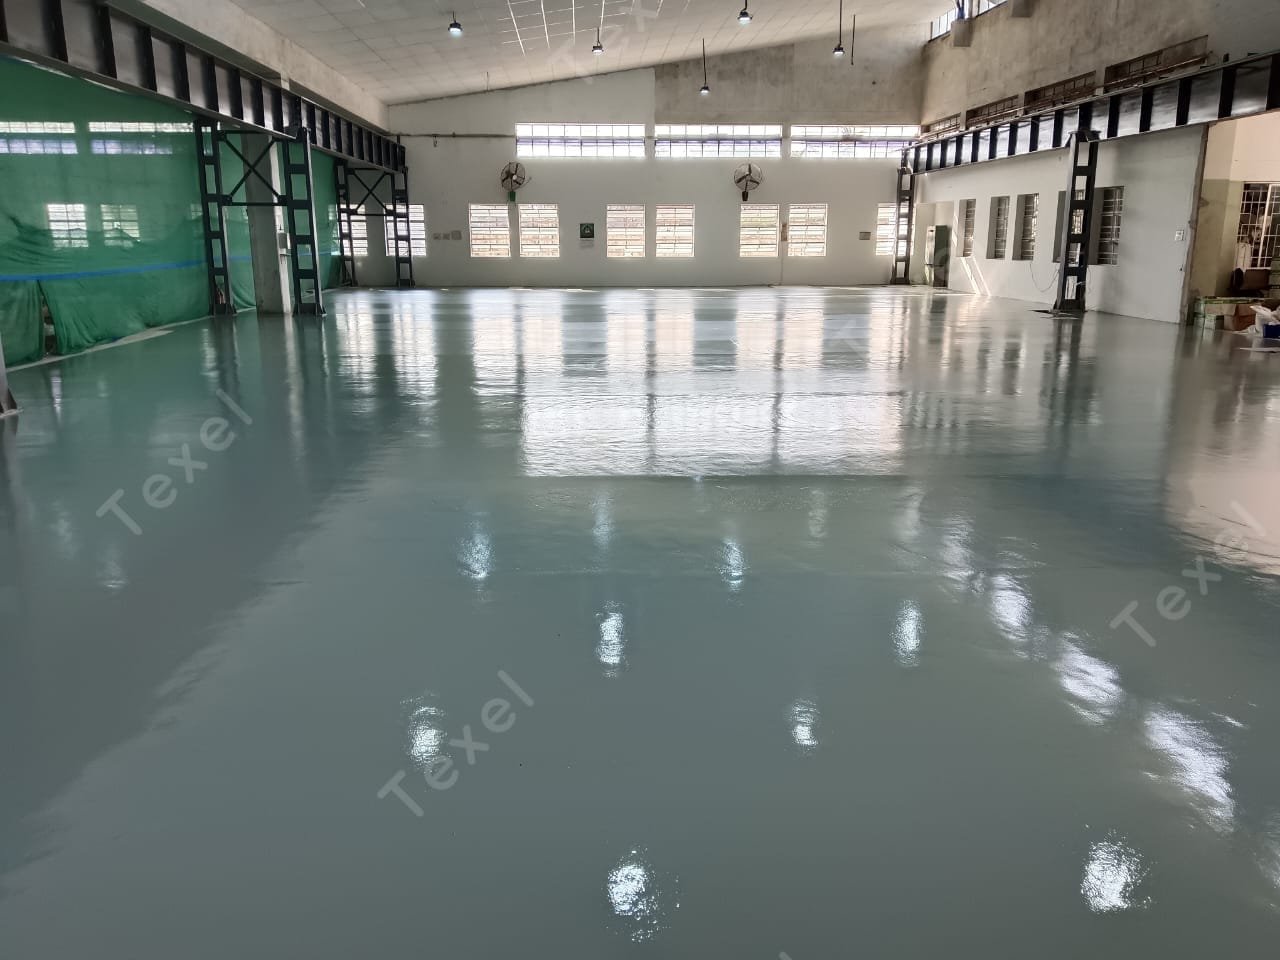
EPOXY FLOORING ON GRANITE FLOOR
EPOXY
FLOORING ON GRANITE FLOOR
INTRODUCTION
Application of epoxy flooring over granite can be a good solution for
creating a durable, seamless, and aesthetically appealing surface. However,
granite is a dense, non-porous material, which makes proper preparation
essential for ensuring good adhesion.
INSTALLATION OF EPOXY ON GRANITE FLOOR
Applying epoxy flooring on a granite floor requires careful preparation to
ensure the epoxy adheres well and forms a durable, seamless surface. Below are
the detailed steps for successful installation:
Step 1: Inspection of the Granite Floor
·
Check Surface Condition:
Inspect the granite for cracks, chips, or damage.
Repair any defects using epoxy filler or an appropriate patching compound.
·
Ensure Firm Bonding:
Make sure the granite is securely bonded to the
substrate.
Step 2: Cleaning the Granite
·
Remove Contaminants:
Clean the granite thoroughly to eliminate dust,
grease, oil, or wax. Use a degreaser or trisodium phosphate (TSP) solution for
effective cleaning.
·
Rinse and Dry:
Rinse the floor with clean water to remove any
residue. Allow the surface to dry completely before moving to the next step.
Step 3: Surface Preparation
·
Create a Rough Surface:
Granite is naturally smooth and non-porous, so it
needs to be roughened for the epoxy to bond properly. You can achieve this by:
·
Grinding: Use a diamond grinder or a
scarifying machine to roughen the surface.
·
Etching: Apply a chemical etching
solution to create a porous texture.
·
Vacuum or Wipe Clean:
After roughening the surface, vacuum or clean the
floor to remove all dust and debris.
Step 4: Application of Primer
·
Use an Epoxy Primer:
Apply an epoxy primer designed for non-porous
surfaces like granite. The primer ensures proper adhesion between the granite
and the epoxy.
·
Apply Evenly:
Use a roller or brush to spread the primer evenly
across the floor.
·
Allow to Cure:
Let the primer cure according to the
manufacturer’s instructions, typically for 6–24 hours.
Step 5: Mixing and Applying Epoxy
·
Mix Components:
Mix the epoxy resin and hardener in the correct
ratio, as specified by the manufacturer.
·
First Coat:
Pour the mixture onto the floor and spread it
evenly using a notched squeegee or roller. Use a spiked roller to eliminate air
bubbles.
·
Add Decorative Elements (Optional):
While the epoxy is wet, sprinkle decorative
flakes or quartz sand if desired.
·
Allow Curing:
Let the first coat cure as per the instructions,
usually 12–24 hours.
Step 6: Apply Additional Layers
·
Second Coat:
Apply a second coat of epoxy to achieve the
desired thickness and evenness.
·
Topcoat:
Add a clear epoxy or polyurethane topcoat for
extra durability, UV protection, and a glossy finish.
Step 7: Final Curing
·
Cure Time:
Allow the epoxy floor to fully cure. Depending on
the product, this may take 3–7 days for heavy-duty usage.
·
Inspection:
Inspect the floor for any defects and make
touch-ups if necessary.
CONCLUSION
Epoxy flooring on granite is a practical and aesthetically pleasing solution that enhances durability, functionality, and appearance. When applied correctly, it transforms a smooth, hard surface like granite into a seamless, non-slip, and highly resistant floor. The key to a successful installation lies in thorough surface preparation, including cleaning, roughening, and priming to ensure excellent adhesion.
Related Posts
Leave a Reply Cancel reply
You must be logged in to post a comment.


