How to Applying Caulk
Knowing how to apply caulk is an essential task that every builder must understand. However, caulking has many limitations that need to be understood to produce a nice looking aesthetic surface. This flexible material is essential to provide a transition between two or more construction materials adjacent one to another when movement is expected.
Caulk is applied in areas where the joint is not perfectly sealed and to reduce air or water transition and it is the recommended method to fill cracks or joints up to 1/2 inch wide. Caulk can also be used on wider joints but must be accompanied by other elastomeric products to fill in the joint.
Caulk Types
Caulk is usually divided into paintable or non-paintable caulk. Caulk regularly used around the home and around windows and door joints is paintable caulk and it can be painted after it has been dried. Non-paintable caulk is usually composed of silicone, which prevents paint from adhering to its surface. Caulk products today when properly applied could last over 20 years if maintained properly.
Tips When Applying Caulk
- Use caulk for joints or cracks up to ½ inch wide.
- Do not apply caulk over dust. It works best when it is applied to painted surfaces. It is recommended to apply a primer coat before caulking.
- When applying caulk over wood surfaces make sure to paint the wood surface first.
- Do not cut the tip of the caulk tube to produce a large hole, it will reduce the amount of caulk flowing out of the tube.
- If the joint or crack is less than ¼ inch, try to widen it using a putty knife.
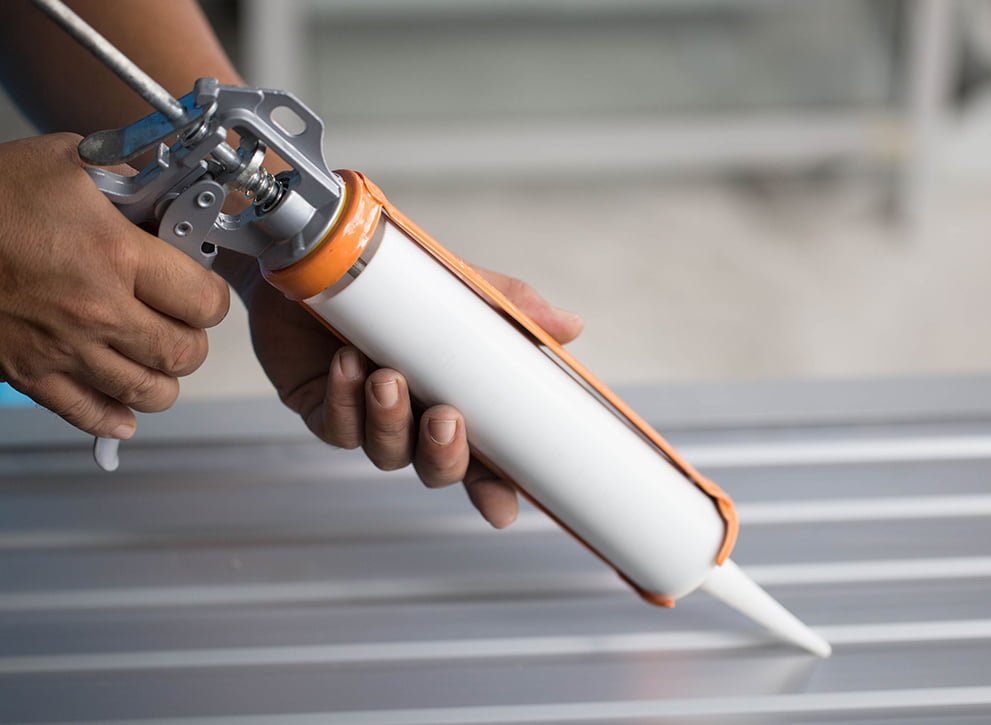
- Applying caulk with a gun should be done slowly while moving the gun at the same rate.
Clean the spout and your hands using a damp cloth, this should keep you mess-free. A wet caulk-smoothing tool can also be used within two to five minutes of application. - Caulk applied around moldings should be sufficient enough to fill the crack only. Use enough pressure with the tip of your fingers to shape it into clean corner joint. Round joints are harder to paint.
- Tubs, lavatories, sinks, bidets, and shower should be clean and dry before caulking. Do not apply caulk over mold, wet, or if mildew is present in previous caulk. If caulk is applied over wet surfaces, it will not adhere properly.
- Swab the joint with rubbing alcohol to remove soap scum, body oils, and another residue. Rubbing alcohol dries quickly and leaves the surfaces impeccably clean so the new caulking will adhere well.
- It is recommended to caulk the bathtub when it is filled with water. The water weight will produce strains over the surface creating the largest possible joints between the wall and the bathtub.
- When a near finish is required, low-tack tape should be used over sensitive or already finished surfaces. Allow the caulk to dry before removing the tape. Do not apply caulking in excess.
- Caulking can and will shrink as it dries. Sometimes a second layer of caulk is required and will produce a neater surface instead of overfilling a crack with caulk.
- If caulking is to be applied over existing and previous sealed joints, removing old caulk is essential and need to be done carefully. A wire brush is recommended is the caulk will be removed from concrete and masonry surfaces.
- To clean the area around the caulk, use mineral spirits for silicone caulk, and soap and water for acrylic.


